1. Edit the Menu
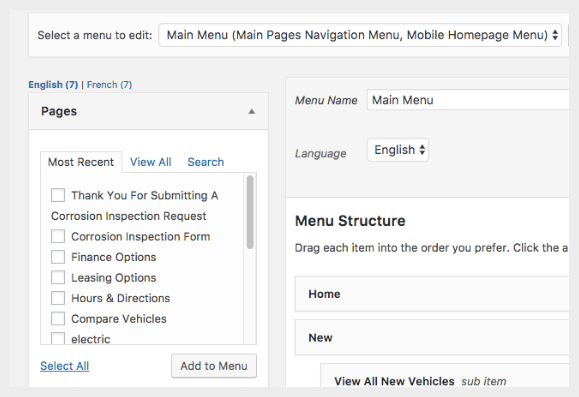
After you have created your page and published it, click on “Appearance,” then “Menus” on the left while logged into WordPress
Make sure “Main Menu” has been selected as the menu to edit.
2. Select the Language of the Site You Are Adding Your Page to
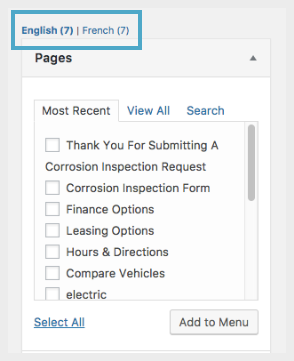
Select the language located above the “Pages” box to add your page to a particular site.
NOTE: You can add a page to both language sites, however you must go through this process twice.
3. Add Your Page(s)
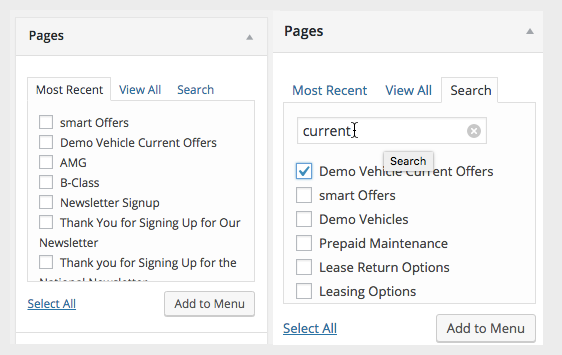
On the left, under the “Pages” area, look for the page you created in “Most Recent,” or click on “Search” and search for that page. When you see the page listed, click on it and click “Add to Menu.”
4. Re-Order Your Menu
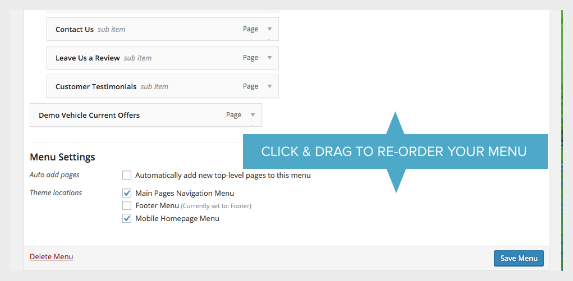
The page will be added to the very bottom of the navigation, so scroll down. It can be dragged up to the area you would like it to be placed in your navigation. Please keep in mind that main menu items are left aligned, and then their respective sub-items are tabbed in to the right. Be sure to align your page properly. Click “Save Menu” located at the top and bottom of the page to save your menu changes.
5. Edit Menu Item Title
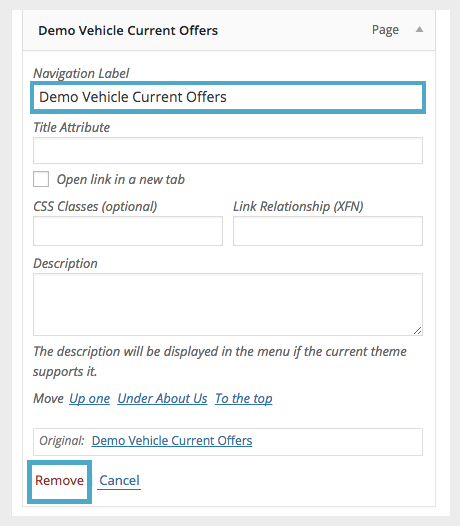
To edit the label of a menu item, click the down arrow on the right of the menu item. To remove a page from your navigation, click the arrow to the right of the page in the navigation menu, then click “Remove.”
NOTE: If you are adding the page to both languages, go through the steps a second time but first select the alternate language.