1. Access Broadcaster Settings
In order to utilize Broadcaster, your sites will need to be set up by a Dealer Inspire developer. Please contact your Performance Manager for further instructions on what information is necessary. After your sites have been set up, we highly recommend users schedule a 30 minute training session on how to use Broadcaster before beginning to use this tool.
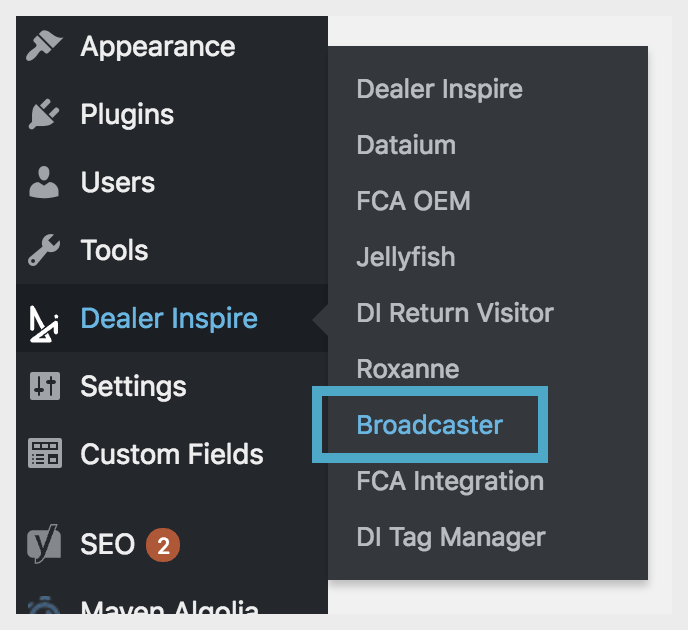
In the left sidebar, hover over ‘Dealer Inspire’, then click ‘Broadcaster’.
2. Broadcaster Settings
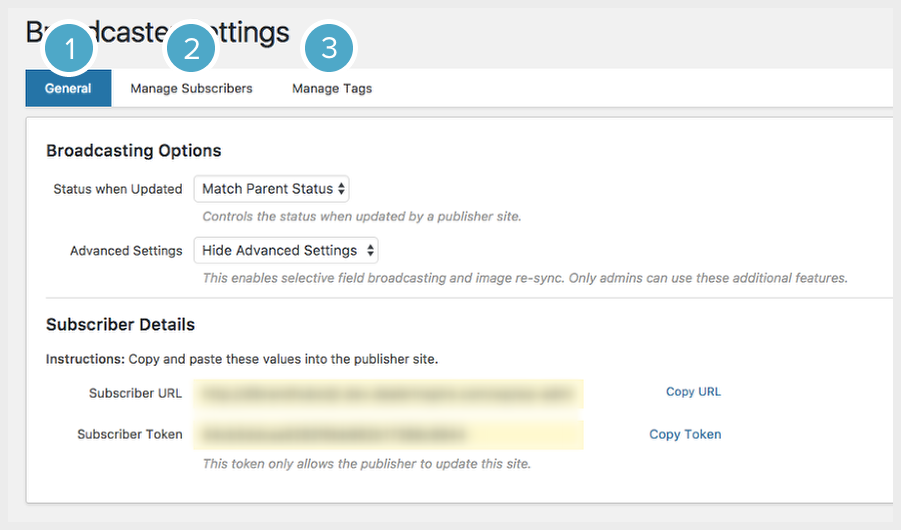
In the backend of the Broadcaster Settings, you will see three tabs: General, Manage Subscribers, and Manage Tags.
1. General – holds the site’s URL and Token information.
2. Manage Subscribers – lists all of the subscriber (child) sites assigned to the particular parent site.
3. Manage Tags – allows you to add specific tags or identifiers to a particular subscriber site.
3. Add Subscriber

Click on the ‘Manage Subscribers’ tab, then on the right side of the screen, click ‘Add Subscriber’ to add an additional subscriber (child) site.
4. Subscriber Site Settings
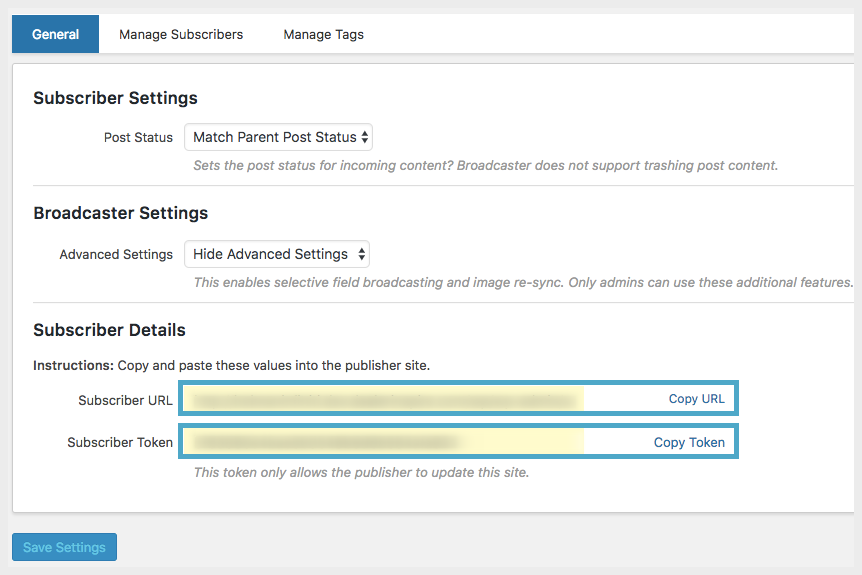
Go to the subscriber (child) site and copy the ‘Subscriber URL’ and the ‘Subscriber Token’ from the Dealer Inspire – Broadcaster – General tab.
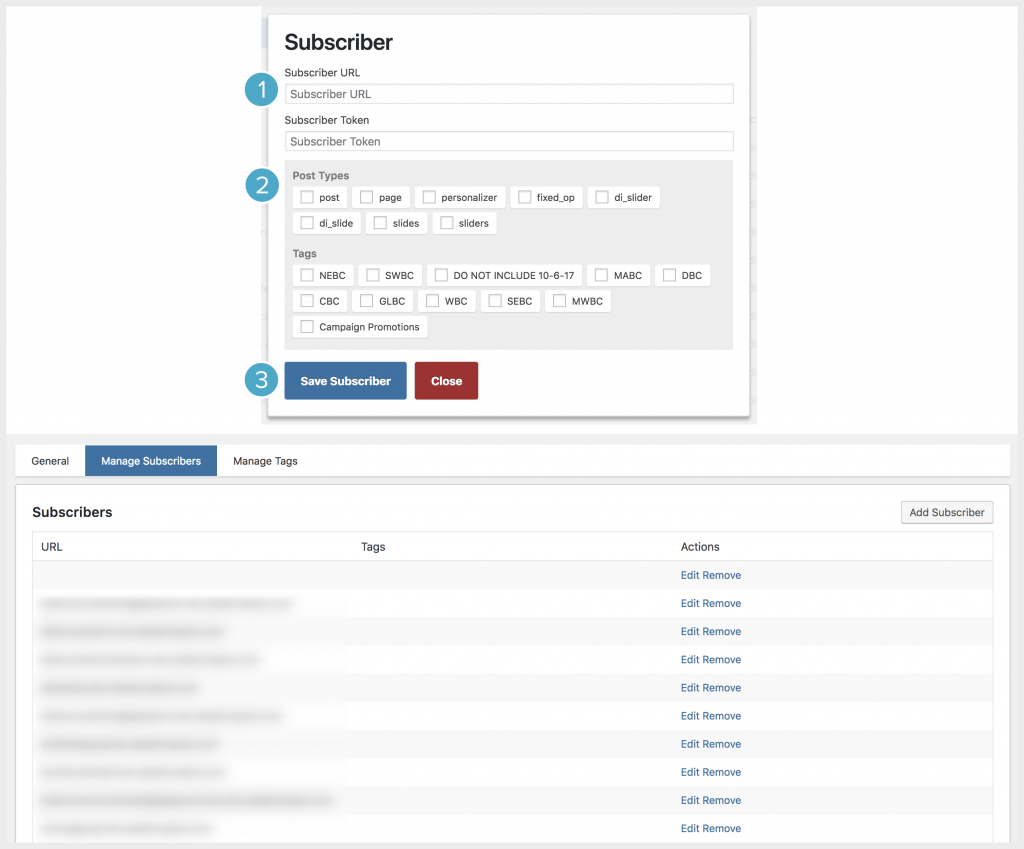
After you gather the ‘Subscriber URL’ and ‘Subscriber Token’, paste the URL and token in the corresponding fields under the ‘Manage Subscribers’ tab on the parent site.
Be sure to check off the content you will be pushing under ‘Post Types’. This tells the parent site which items to push to any given subscriber (child) site.
After the information is entered, click on ‘Save Subscriber’, and the website URL should populate in the ‘Manage Subscribers’ tab.
5. Add Your Content
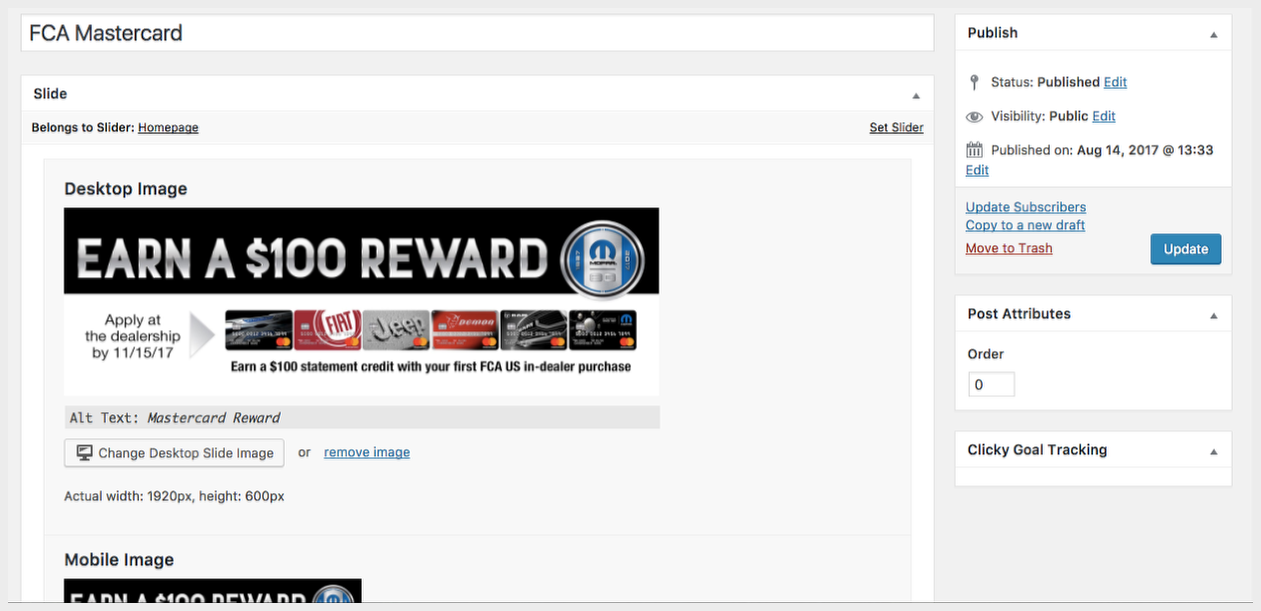
Follow all of the regular steps to add a Slide, Page, or Post Type (such as Personalizers, Fixed Ops, Special Offers, etc.). If you have any questions on how to add these items, please review the training documentation available for these tools in the Training Camp.
6. Update Subscribers
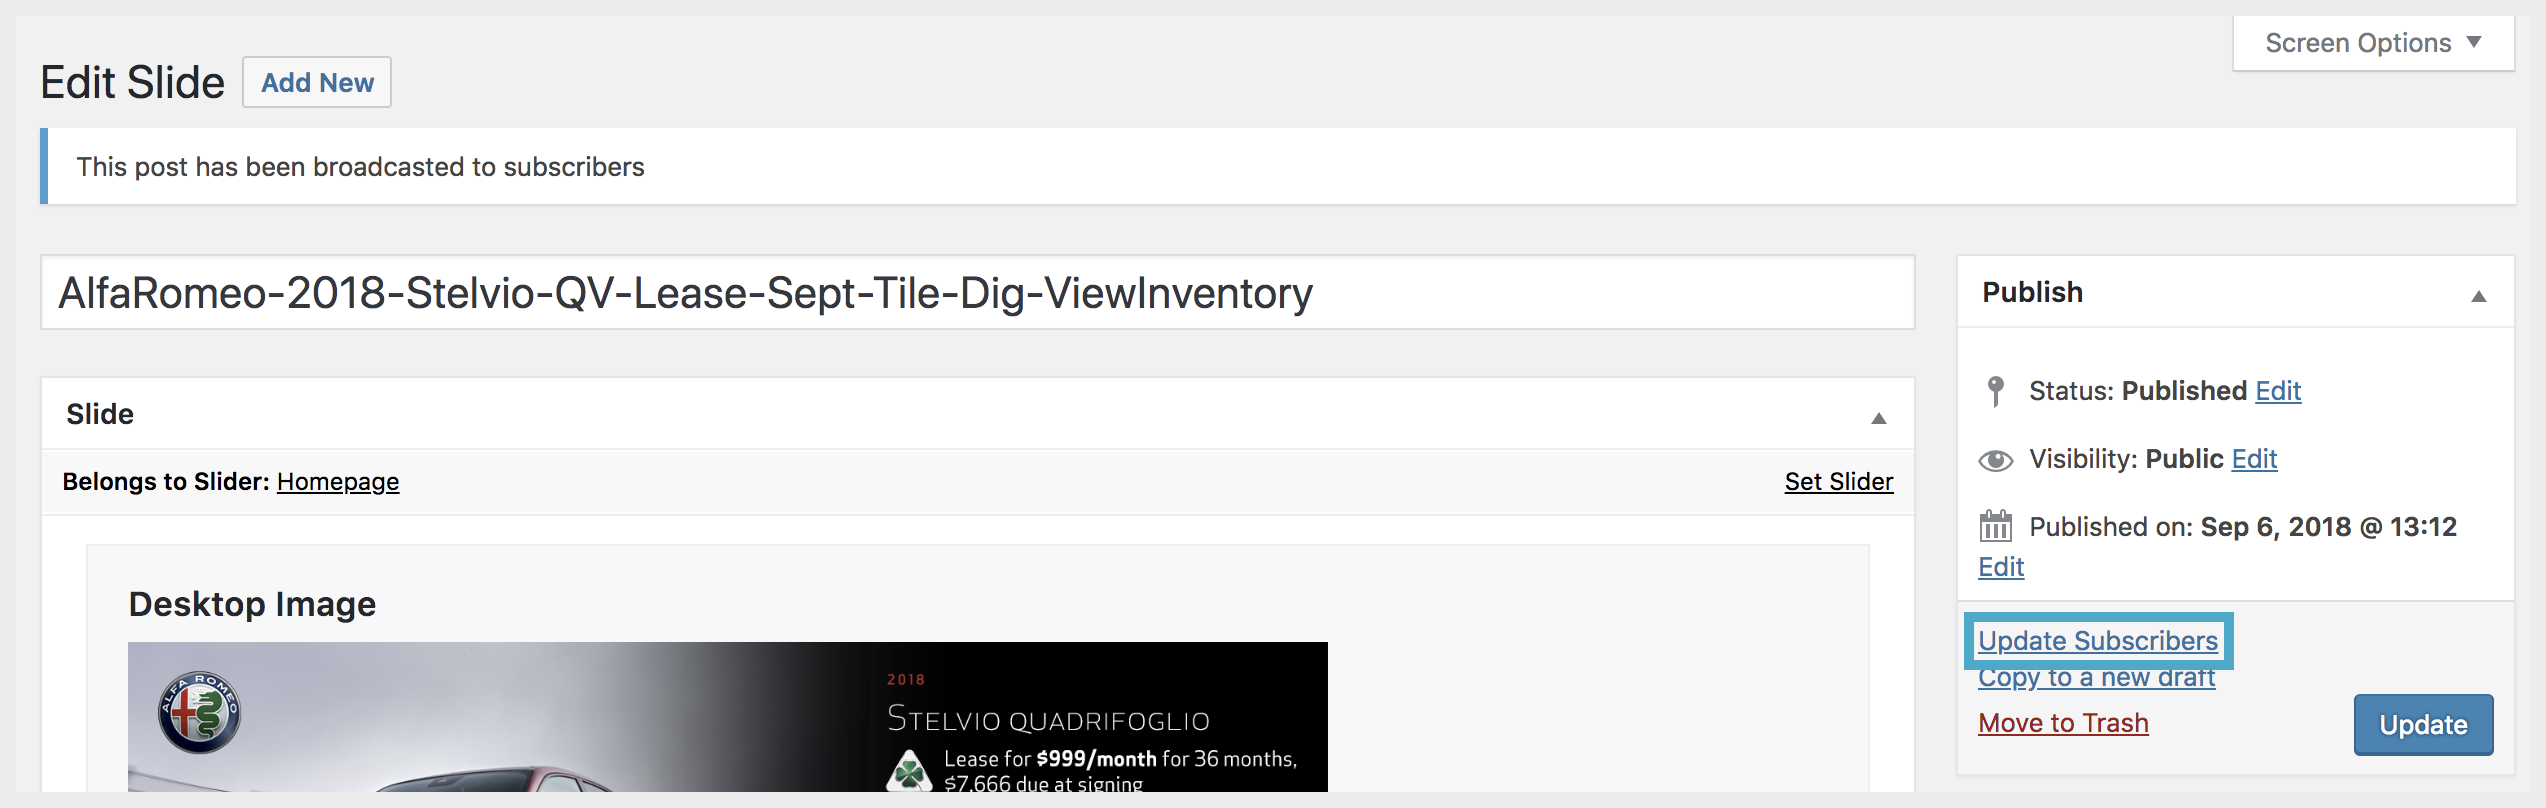
After you publish the content, click on ‘Update Subscribers’ in the ‘Publish’ box on the top right hand side of your content.
NOTE: Once an item has broadcasted, you will see an alert at the top of the content that states “This post has been broadcasted to subscribers” so you know it is something that has been broadcasted.
7. Select Subscribers & Push Content
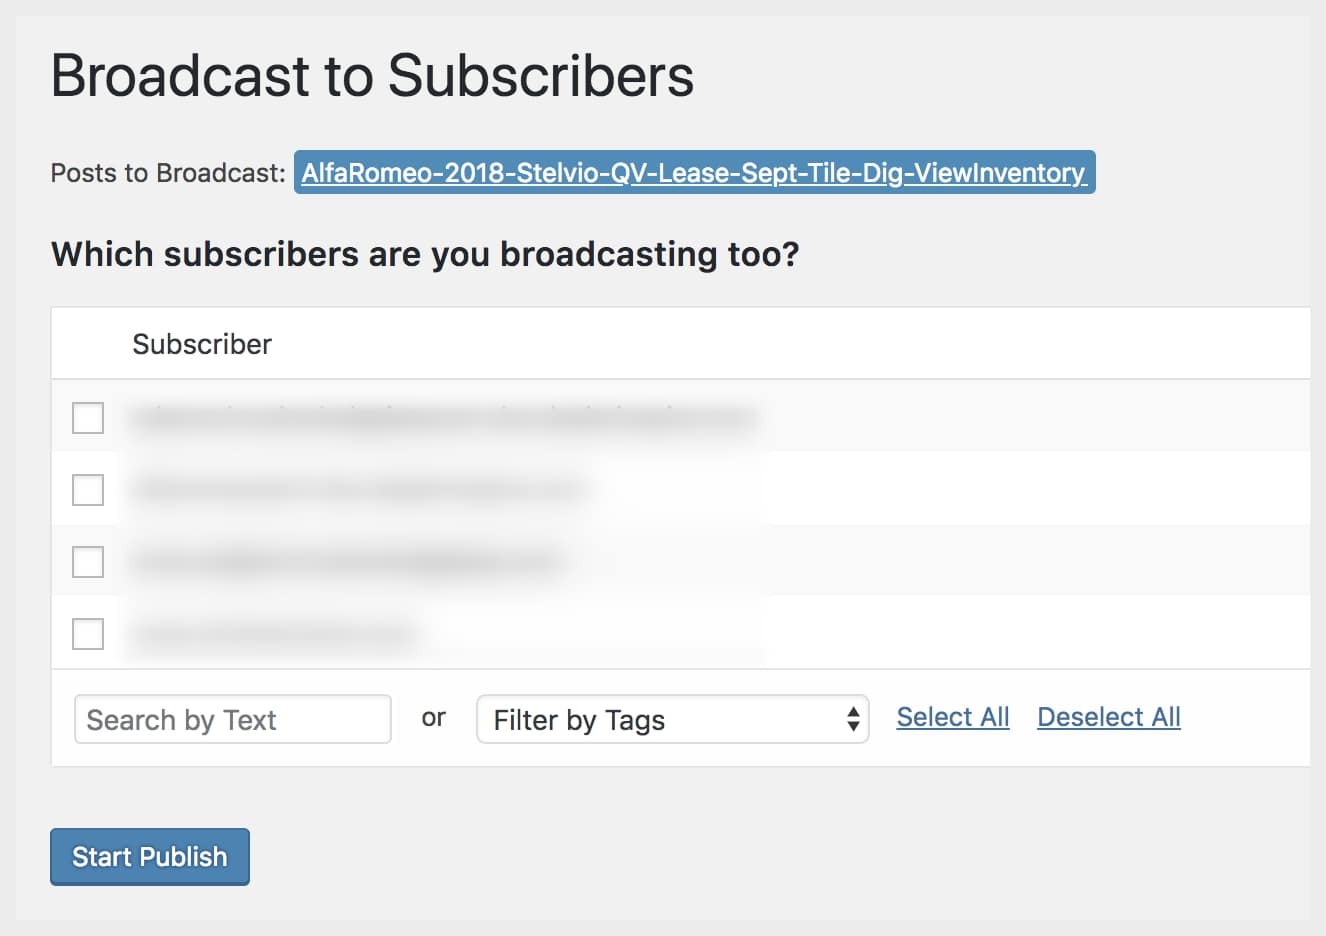
From the list of subscribers, check the box next to the subscribers you would like to push content to. After you have chosen your subscribers, click ‘Start Publish’ at the bottom of the list to push the content to the subscriber (child) sites.
The system will populate with a loading bar to indicate the status of the content being pushed to all sites.
NOTE: There is a search function, as well as, ‘Select All’ and ‘Deselect All’ at the bottom of the list for easy site selection.
8. Tags
Tags can be added to each individual subscriber site as an identifier to send out content to different groups of sites.
1. Add Your Tag
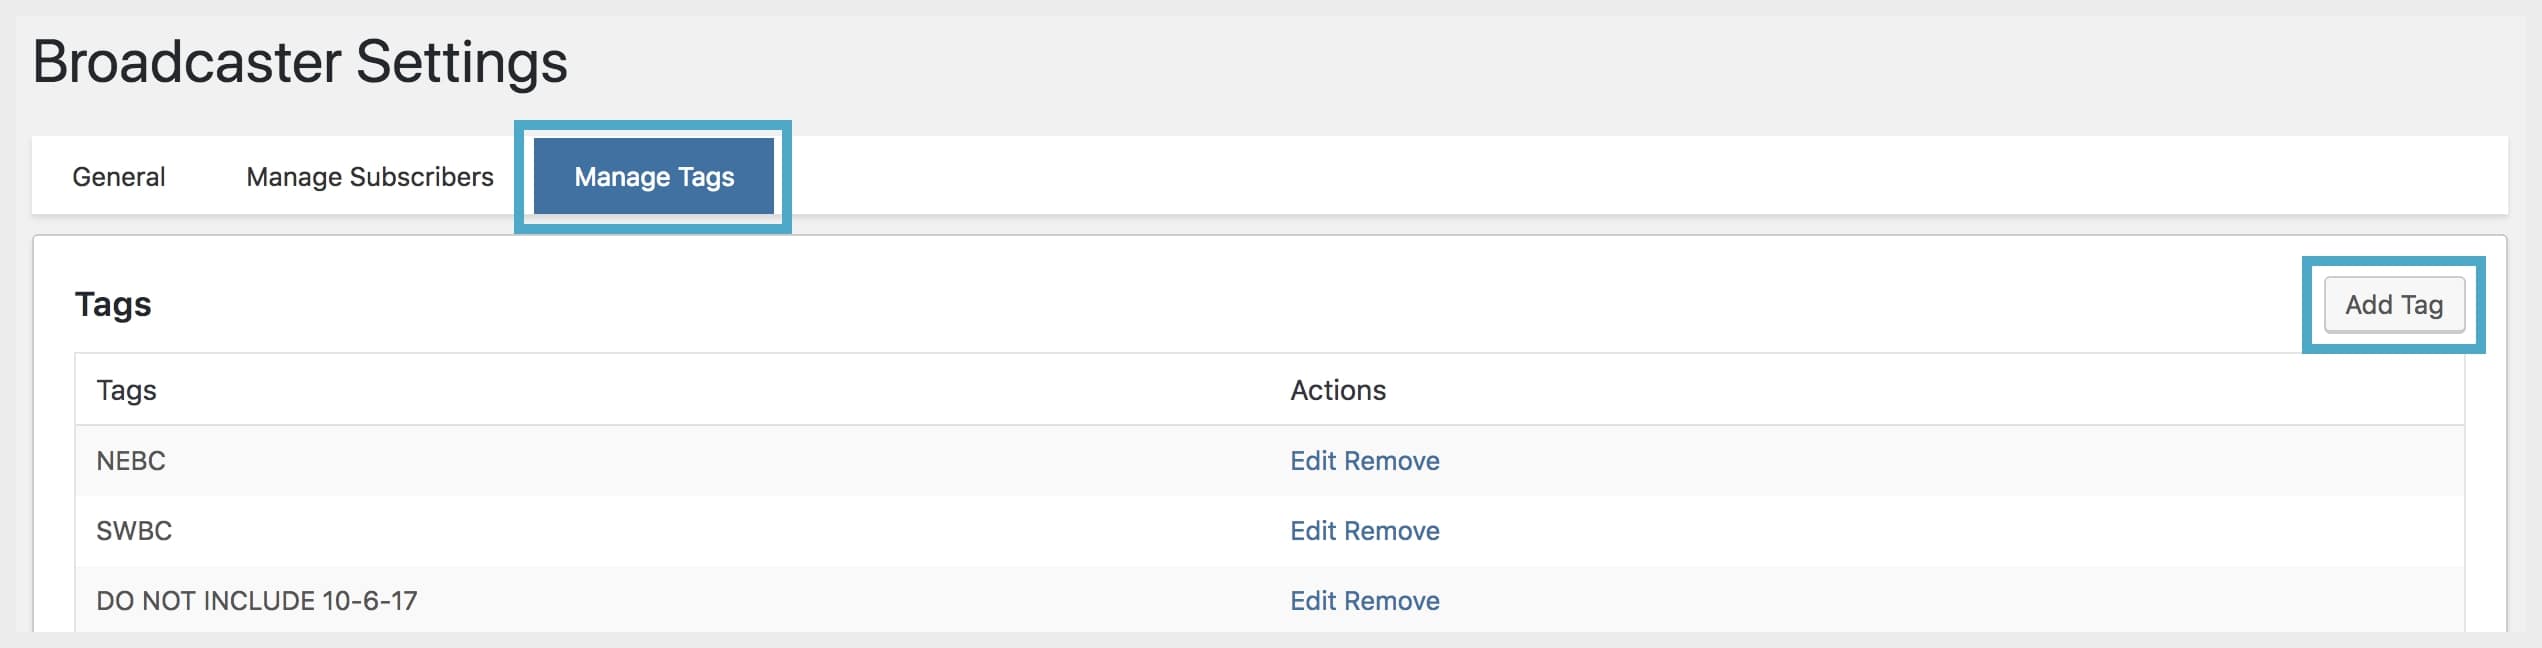
In the Broadcasters settings (see step #2) click ‘Manage Tags’. On the right side of the screen, click on ‘Add Tag’ to add your tag.
NOTE: These tags can organize the child (subscriber) sites by slide size, regional groups, or even identify the site to exclude certain content.
2. Name Tag
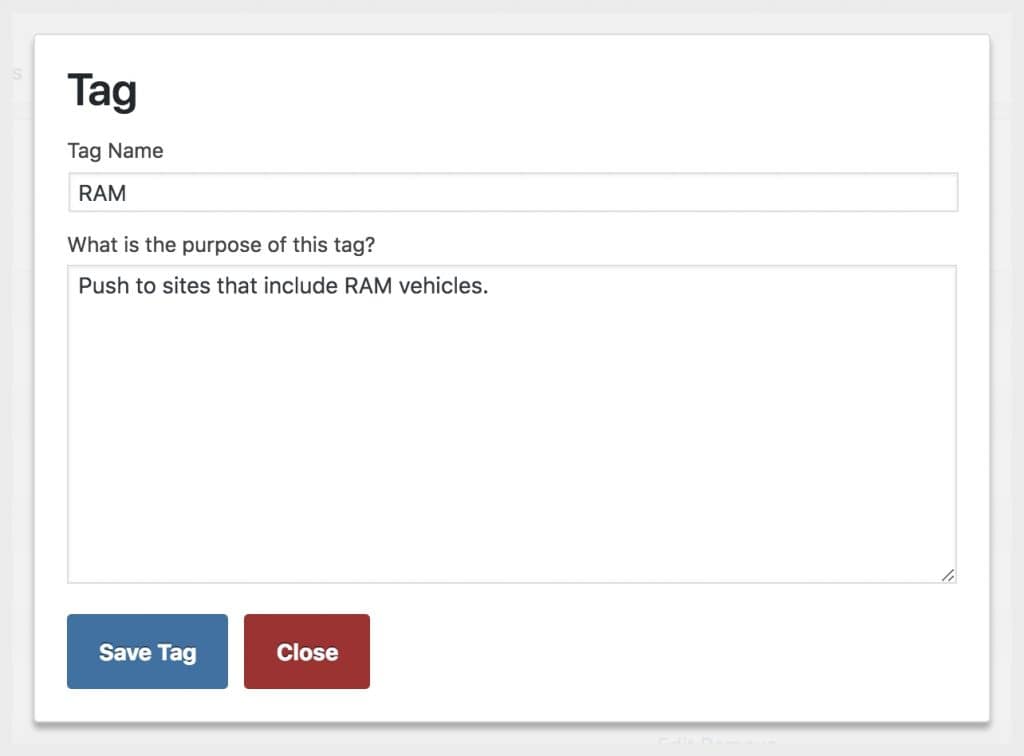
Add the name of the tag. The description/purpose of the tag is optional.
3. Assign Tag(s)

In the Broadcaster settings (see step #2) click ‘Manage Subscribers’, then click ‘Edit’ on the subscriber (child) site you want to add the tag(s) to.
In the subscriber window that displays, put a check mark next to the tag(s) you want to include, then click ‘Save Subscriber’.
After you publish the content you will see the tags on the right side while managing subscribers.
At the bottom of the subscriber list, you can filter by Tags which allows you to easily select specific groups.