1. Check to make sure pop-up pro plug in is activated on the left side in WordPress. If you do not see it, please submit a support ticket to support@dealerinspire.com to have the plug in activated.
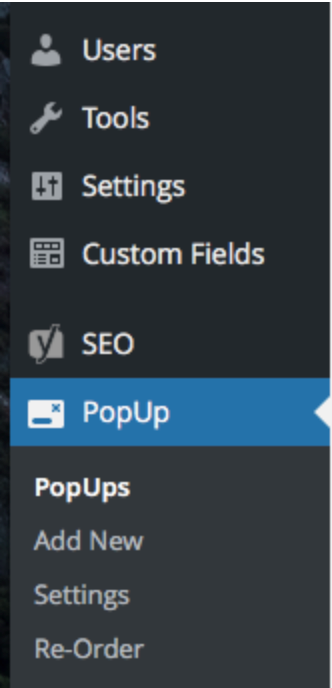
- Click PopUp > Add New
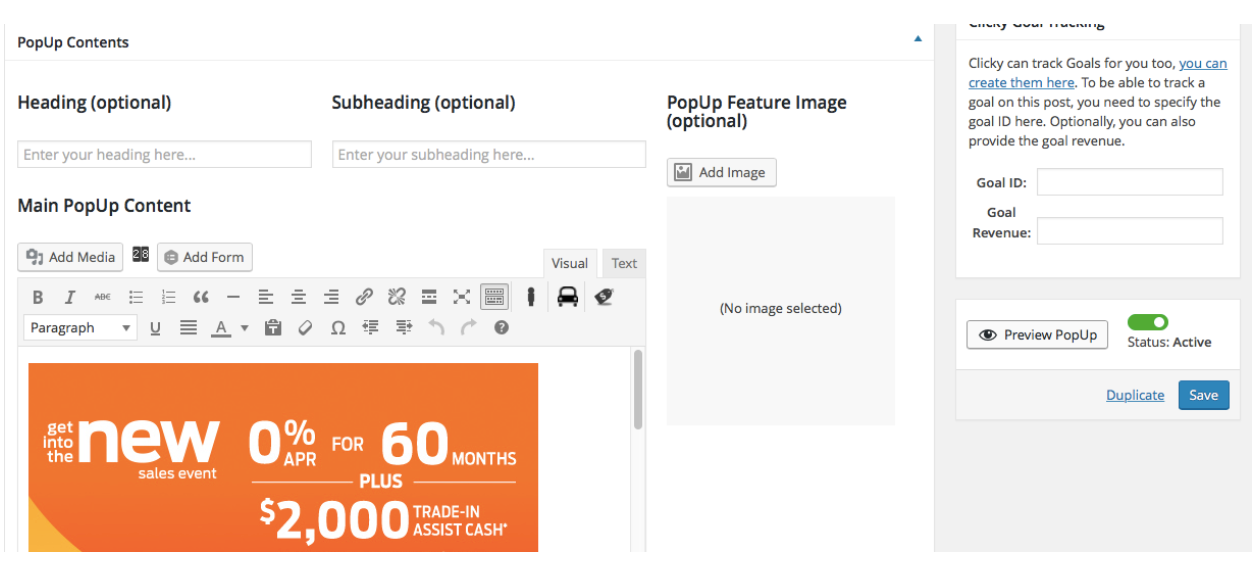
- Add Media and Links directly in the content area with the “Add Media” button (not the “Pop Up featured image” button on the right side). If your image will be linking to another page, when choosing the image, click it, and then in the lower right choose “Custom URL” and type in your URL, then click “Insert into post”.
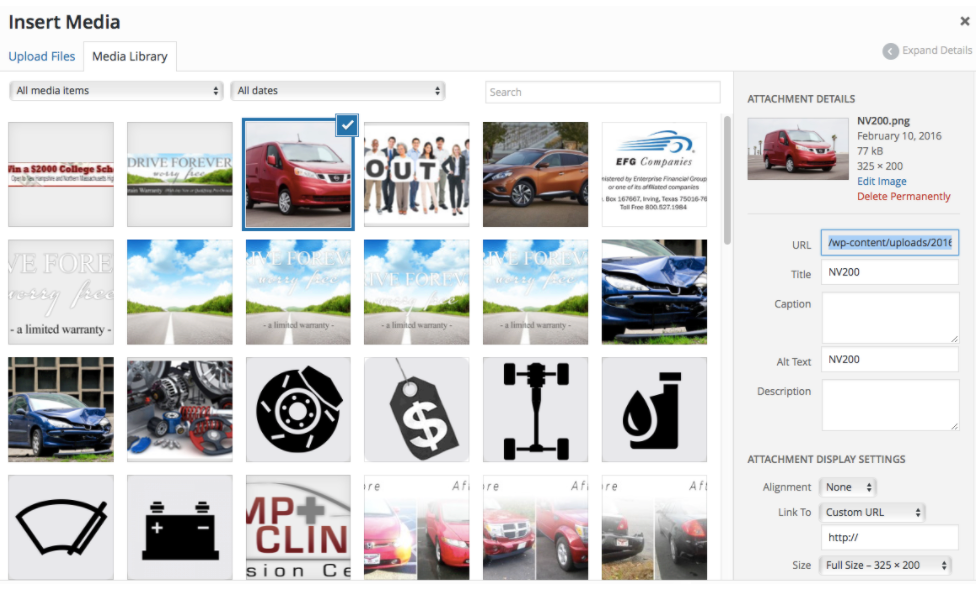
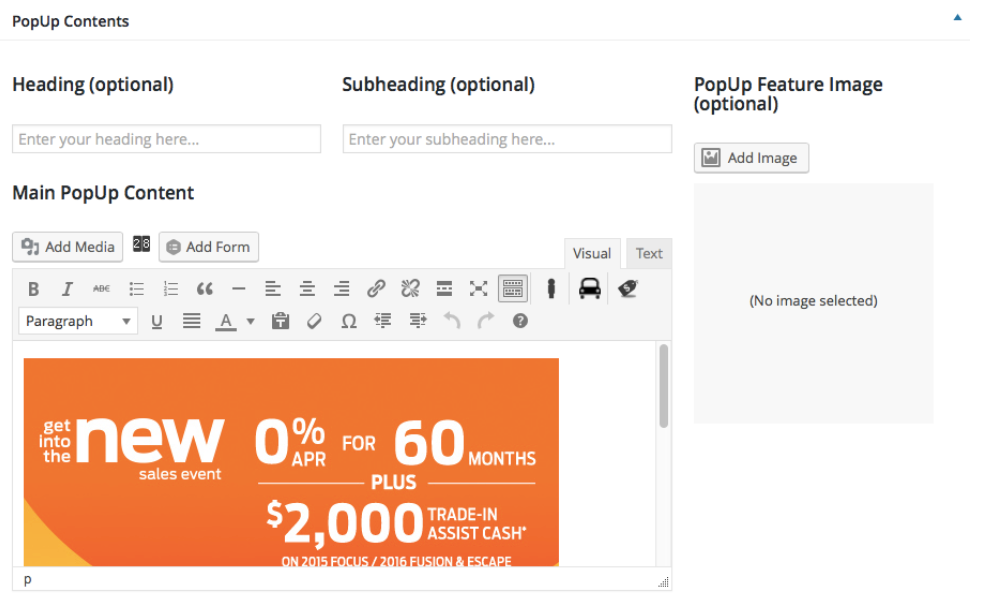
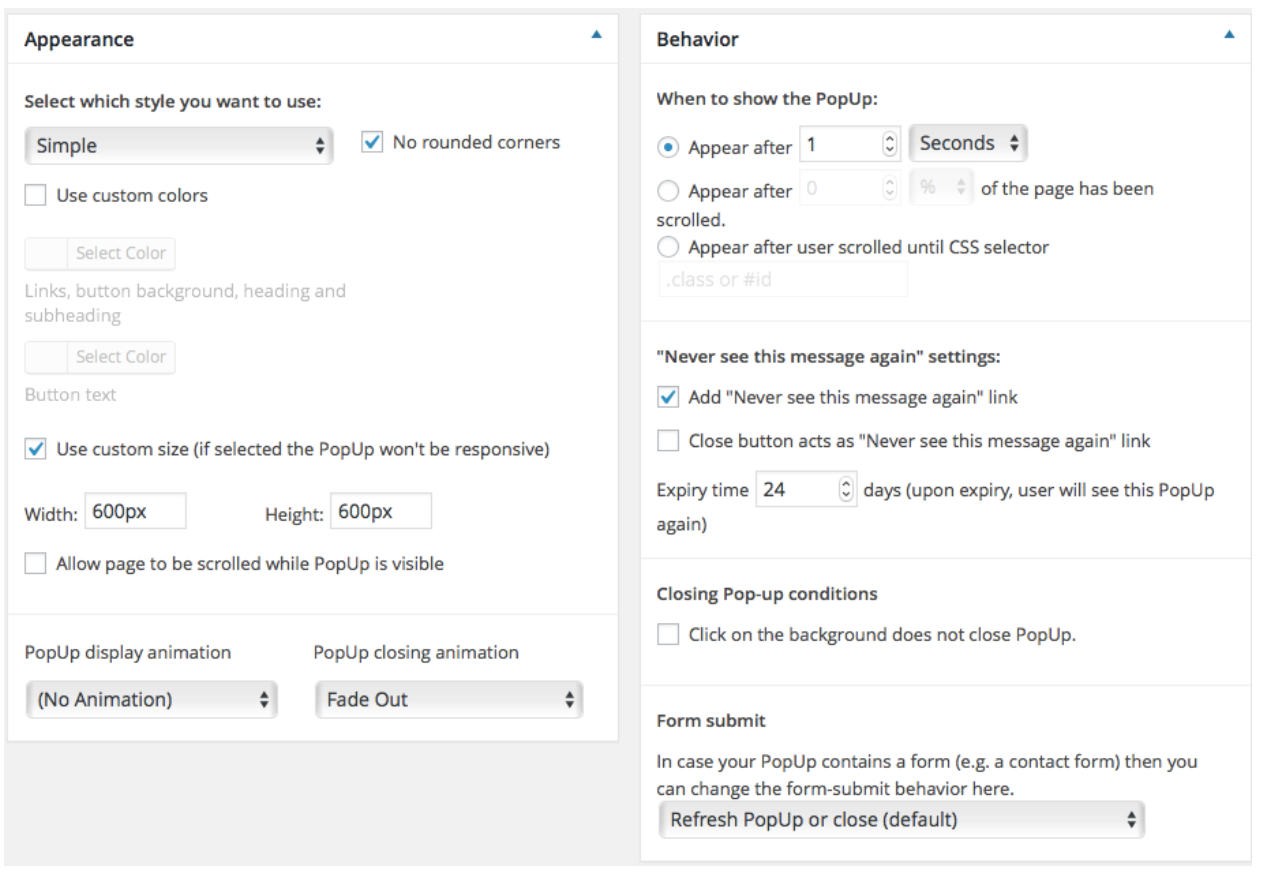
- Make the appropriate choices in “Appearance” and “Behavior”. You can leave the style as “Simple.” If you are using an image as the pop up, check the image size in the media library and check “custom size”, input the images size in the width and height in pixels.
- Select the conditions you want it to fire on (can select specific urls/mobile only, etc)
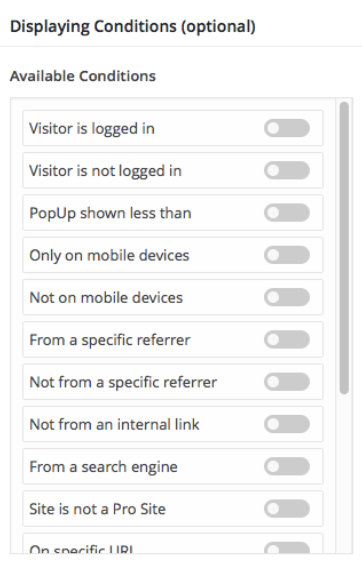
- Preview results
- Publish
- Change status to Active (on the right side), in your list of Pop Ups, you will see a green check mark showing it is active.

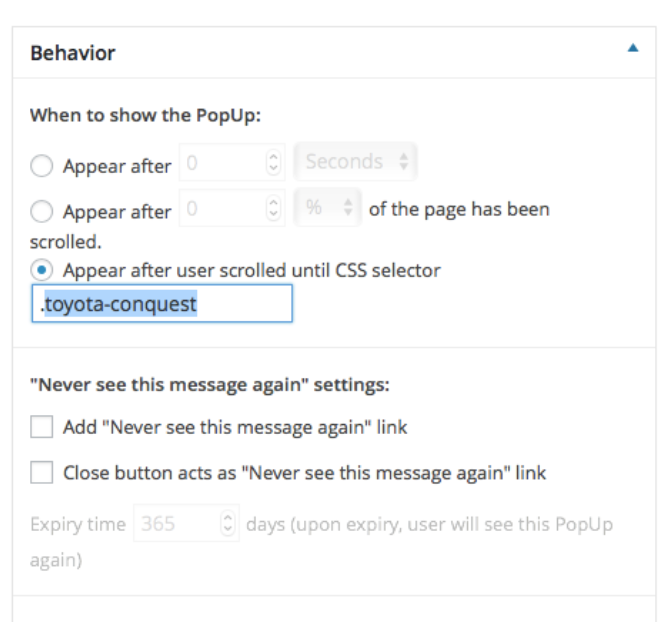
***If you would like to have your pop-up be set up through a personalizer, you would go to the Behavior area of the pop-up set up, check the box next to “Appear after user scrolled until CSS selector”, then identify your pop-up with a period before it like in the screenshot below”
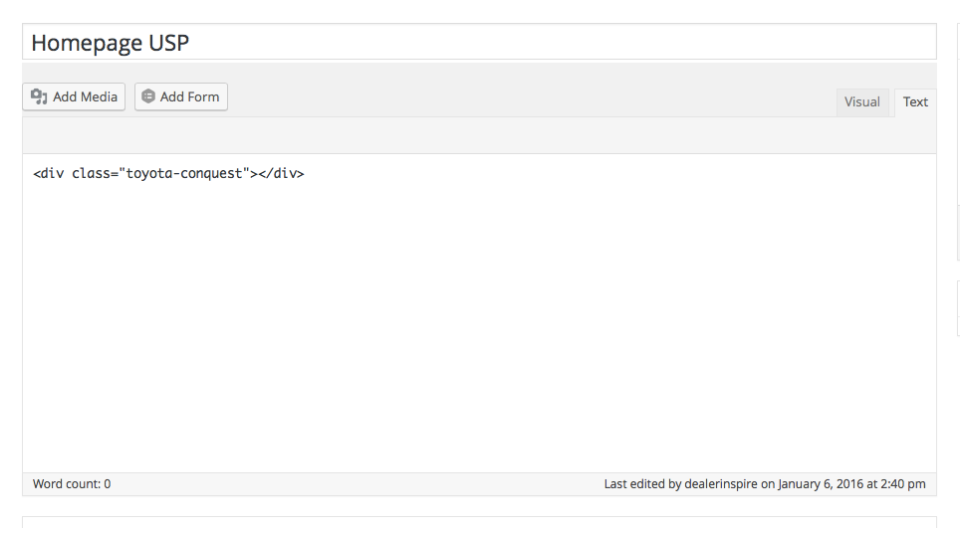
Then add your Personalizer in Personalizer/Add New. In the top title bar in the personalizer, indicate “Homepage USP”. In the content area of the personalizer, click on the text tab, then type in the following:
The class name you created in the pop up with the period should NOT include the period in the personalizer div class as you can see in the screenshot below:
Continue to set up your personalizer with your tag and rule and click Update. Open up a new browser in an incognito window, and test your pop up personalizer to see it fire.
