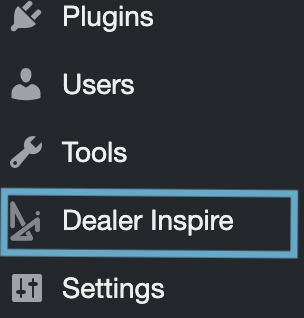
To activate a Site Notice on your website, first navigate to Dealer Inspire on the left side of the screen and click it.
Now, you should see the Settings screen under the tab titled ‘General’.
Scroll down until you see Enable Site Notice as shown below.
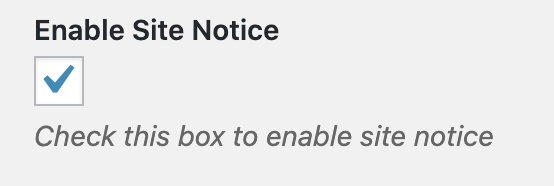
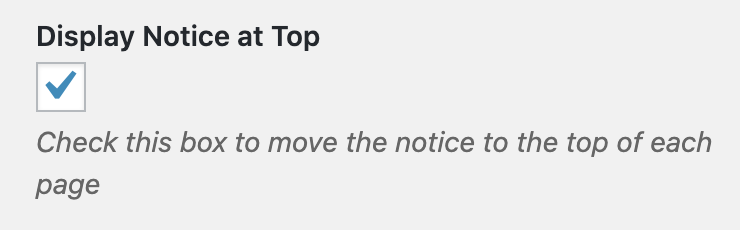
Once you check the box for Enable Site Notice, make sure to check the box for Display Notice at Top, as shown below.
This will ensure the site notice is set to the very top of each page on your site, just above the header.
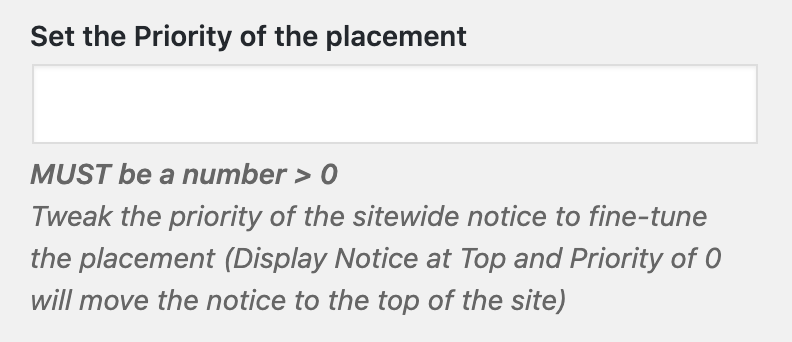
Next, there is an option for setting the placement of the site notice.
It is perfectly acceptable to leave this blank (defaults to 0) as it looks best, aesthetically.
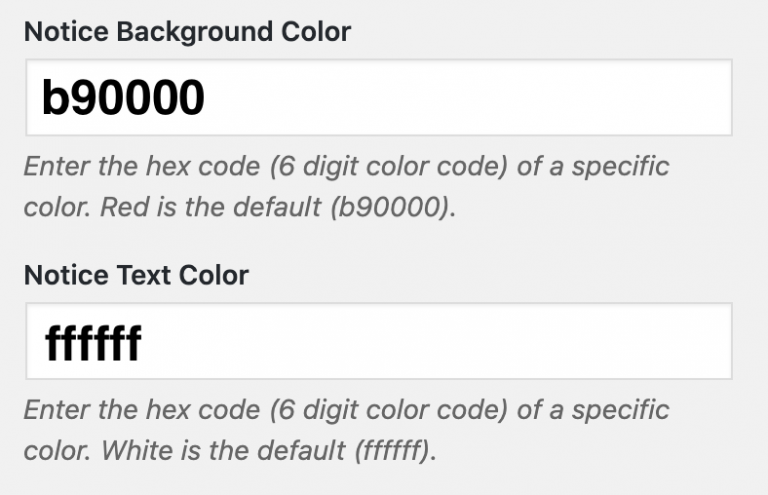
Here is where you can make the most aesthetic changes to your site notice.
These two fields below take hex color codes (just without the # before the color code).
For example, the background default is red, which has a hex code of b90000 and the text color has a default of white, whose hex code is FFFFFF (6 F’s).
You can click this link to use Google’s Color Picker.
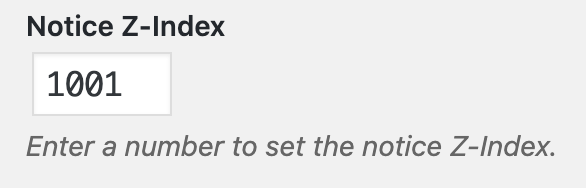
The Z-Index field is one of the more important fields to fill out for your site notice.
This field is meant to put the site notice quite literally on top of everything else on the site, except the header.
Your site header should have a Z-Index of 1000 so an acceptable value to put for the Z-Index of your site notice is 1001.
This will not overlap the header but will appear over any other content as you scroll down the site.
If you do realize as you scroll down your site that something else appears to be overlapping the site notice, simply put a higher value for the Z-Index.
The second to last option available for your site notice is Margin.
This field will add padding to the top and bottom of the site notice but is not always necessary.
This can be left blank as it defaults to 0px.

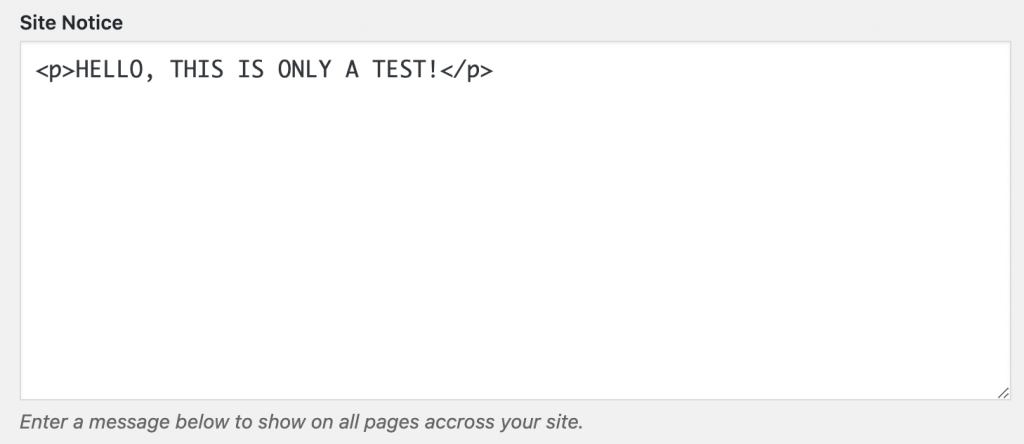
Lastly, but most importantly, is the text box where the content of the site notice is created.
It is not mandatory, but you can use html and inline-css here to create the site notice just the way you want.