1. ADD YOUR OFFER TYPE
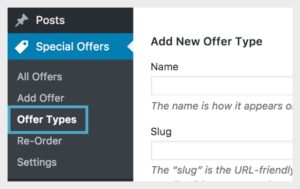
In the backend of the website click “Special Offers,” then “Offer Types.”
2. NAME YOUR TYPE
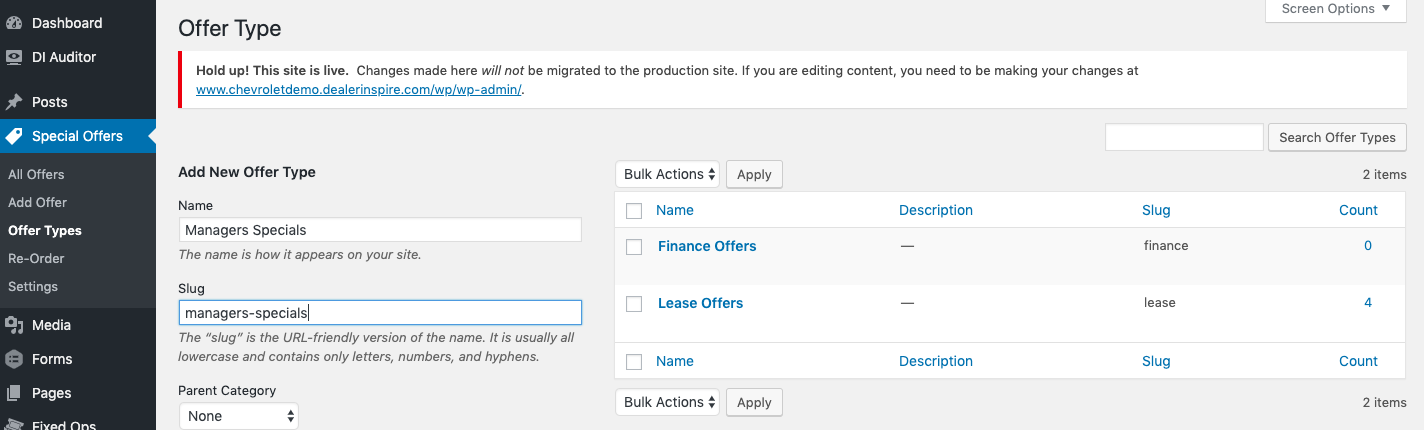
The next step is to name your Offer Type. You can name your offer type whatever you wish, but typically the name will indicate what your offer page will be about (ex: Lease, Finance, Manager Specials, etc). When naming your offer you need the “Name,” but you also need the “Slug.” “Parent” is not a commonly used option, but it allows you to create a hierarchy with your offers. For example, “New Vehicle Specials” may be the parent and “Lease Offers” and “Finance Offers” would be the child types.
- Name – Whatever you wish your offer category type to be named
- Slug – This is what we will put on your offer page so that it knows which offers to display. Because of this, your slug must meet the following rules:
- All lowercase
- No spaces
- No special characters
- Use only letters, numbers and hyphens
Once you have added in your Name and Slug, click “Add New Offer Type” to add your offer type to the list. In order for the Special Offers cards that you create to publish on your page, we need to add the offer type into the shortcode on the page. Click on Pages in the left WordPress navigation, then search “Special Offers”. Once you find the page, click on it to edit. Here you will see the shortcode, such as [show_offers type=”lease” row_count=”3″]. If you created your offer type to be “finance” for finance offers, simply replace the word in the quotes with your slug, like this: [show_offers type=”finance” row_count=”3″]. If you have questions on creating a new offer type, click “Need Help” and “Submit Training Request”.