1. CREATE A NEW PAGE
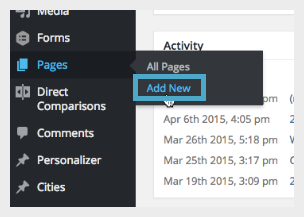
In the backend of WordPress, hover over “Pages” and then click “Add New.”
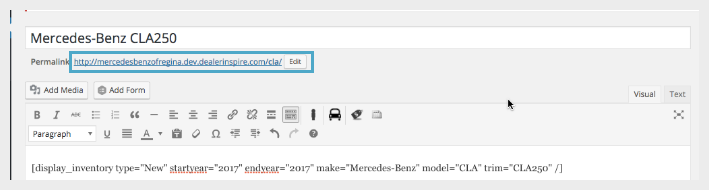
2. ADD THE INVENTORY SHORTCODE
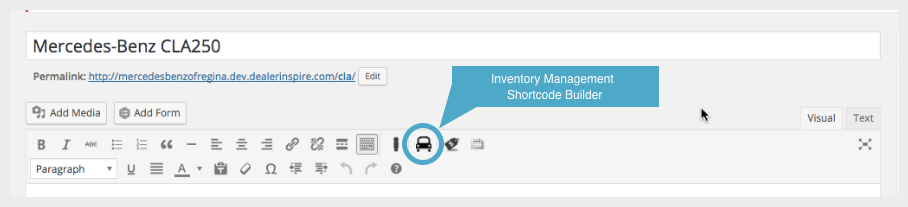
Give your inventory page a title in the top bar. Then click the “Inventory Shortcode Management Builder” car icon in the text toolbar area. When the window opens, click “Display Inventory.”
3. CHOOSE YOUR VEHICLE CRITERIA
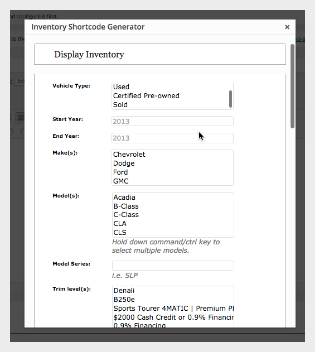
The shortcode generator allows you to create a page for a variety of vehicle specifics. Choose your desired options to create your page. For example, if you wanted a page to display a New Mercedes-Benz C-Class you would choose the following:
Vehicle Type: New
Start Year: 2017
End Year: 2017
Makes(s): Mercedes-Benz
Models(s): CLA
Trim Level: CLA250
4. INSERT SHORTCODE
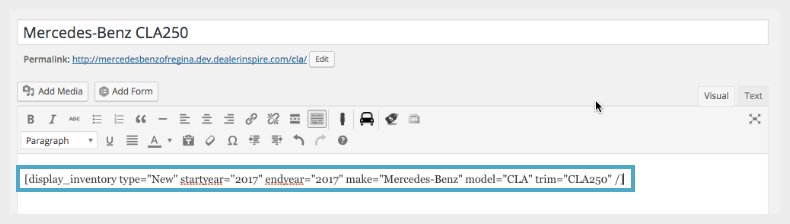
After you have chosen your criteria, click the “Insert” button to place the shortcode on the page.
NOTE: You also have the option to insert stock numbers separated with a comma and no spaces.
5. SELECT PAGE TEMPLATE
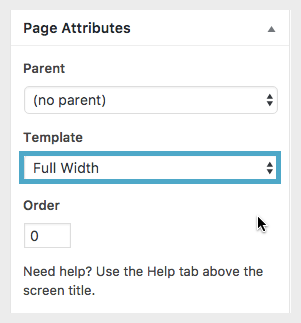
To ensure your page is wide enough to display the full inventory details- under “Page Attributes” on the right hand side, click “Template,” then “Full Width.” This will take off the Dealer Info sidebar and display the page across the whole screen.
NOTE: For our clients utilizing the Lightning VRP functionality, please select ‘Lightning’ as the template.
6. PUBLISH
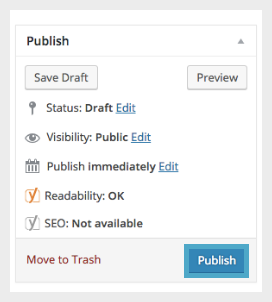
Click “Publish” to make your page live.
If you need the URL for your page (so that you can link to it), it is located directly under the title bar area.
ADDING YOUR INVENTORY PAGE TO THE MENU
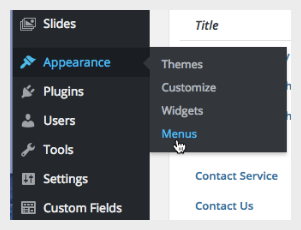
If you need to add this page to the menu, click on “Appearance,” then “Menus” on the left while logged into WordPress.
1. SELECT THE MAIN MENU

Make sure “Main Menu” has been selected as the menu to edit.
2. SELECT YOUR PAGE
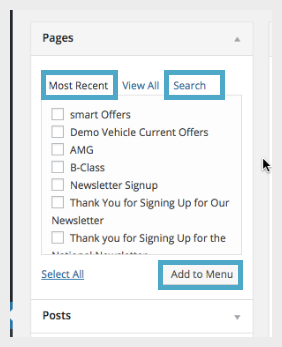
On the left, under the “Pages” area, look for the page you created under “Most Recent,” or you can click on “Search” and search for that page. When you see the page listed, click on it and click “Add to Menu.”
3. RE-ORDER
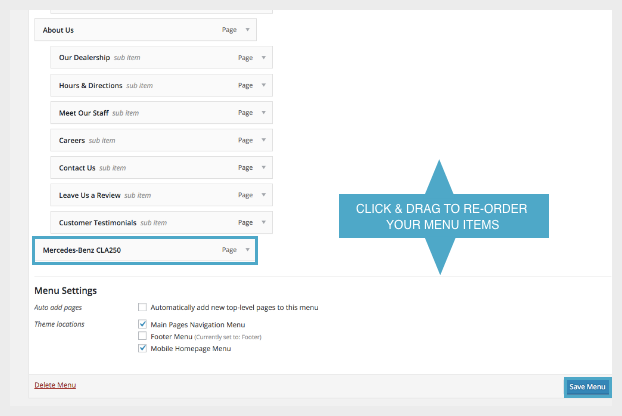
The page will be added to the very bottom of the navigation, so scroll down. It can be dragged up to the area you would like it to be placed in your navigation. Please keep in mind that main menu items are left aligned, and then their respective sub-items are tabbed into the right. Be sure to align your page properly. Click “Save Menu” located at the top and bottom of the page to save your menu changes.