1. Enable HTML Text Overlay on the Slider
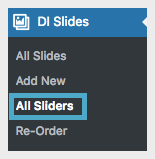
While logged into WordPress, click on the “All Sliders” subcategory under the DI Slides tab.
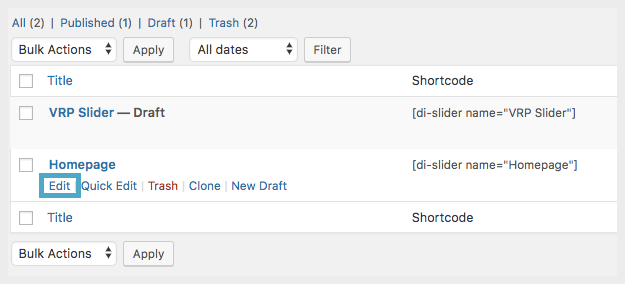
While hovering your mouse over the slider you will be adding your personalizer to, click “Edit”
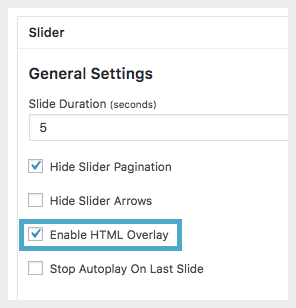
Make sure that “Enable HTML Overlay” is checked in order for the content box to appear on the slide.
Be sure to click “Update” once you have completed this step.
2. Access DI Slides
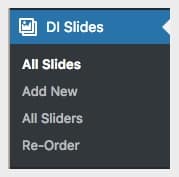
While logged into WordPress, click on “DI Slides” in the left side menu.
3. Create and Edit Your Slide

You can edit your existing content by clicking on the title of your desired slide. If you are creating a brand new slide, select “Add New” at the top and create and publish your slide as you normally would.”
4. Add Your Personalizer Shortcode

Scroll to the bottom of the page or until you see the content box. You can enter a default message at this time if you wish. The default message will display if the customer does not meet the criteria to see your Personalizer.
NOTE: If you do not see this content box, please reach out to trainers@dealerinspire.com.
Highlight the default message if you have created one, then select the Personalizer shortcode builder from the toolbar.
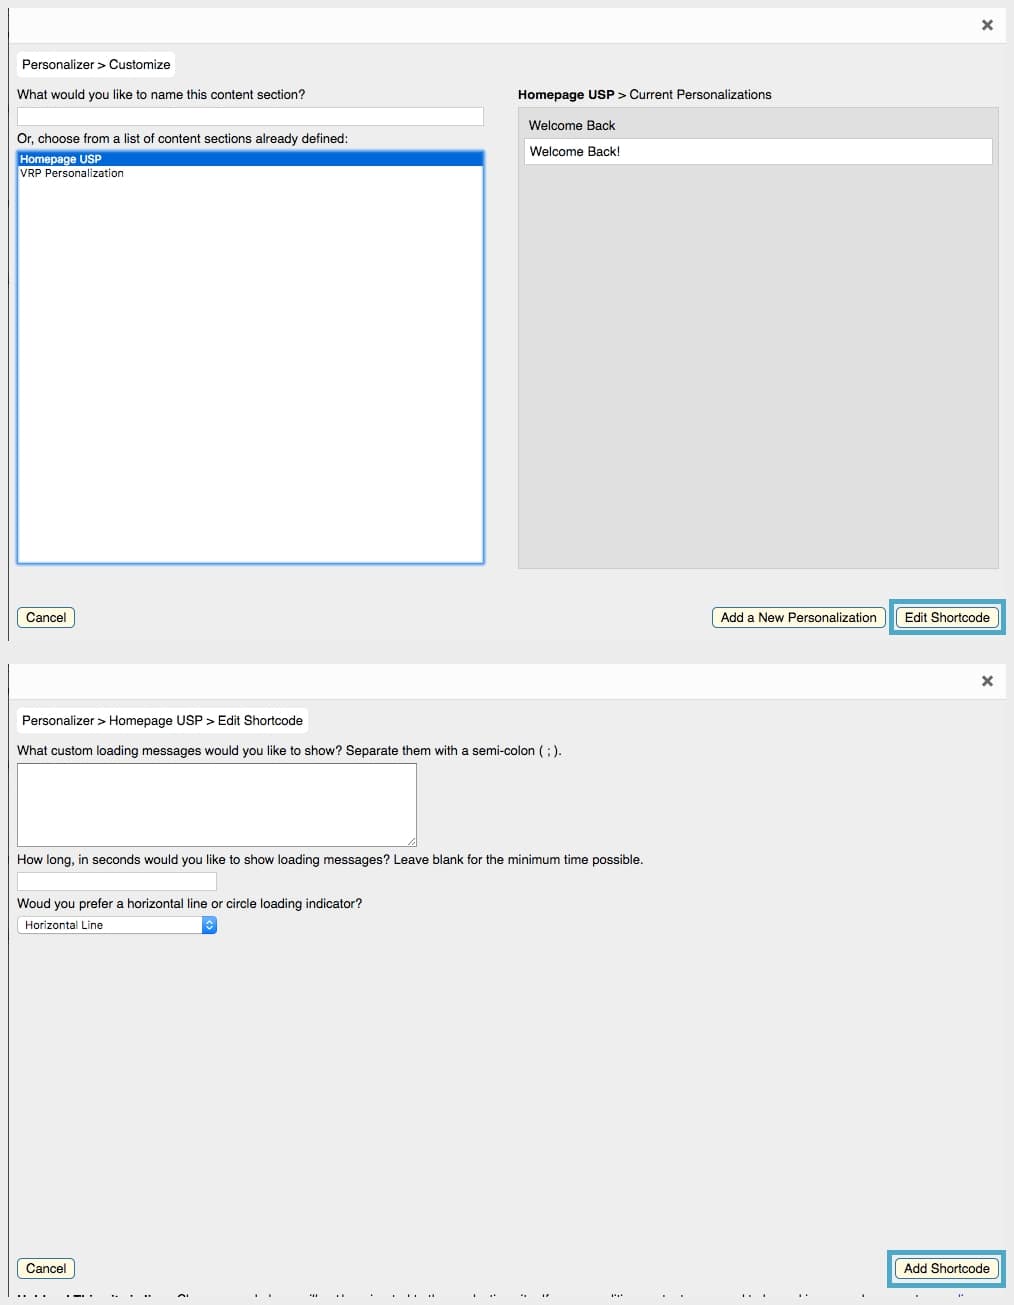
Select the content key “Homepage USP,” then select “Edit Shortcode.” Next, click “Add Shortcode.”
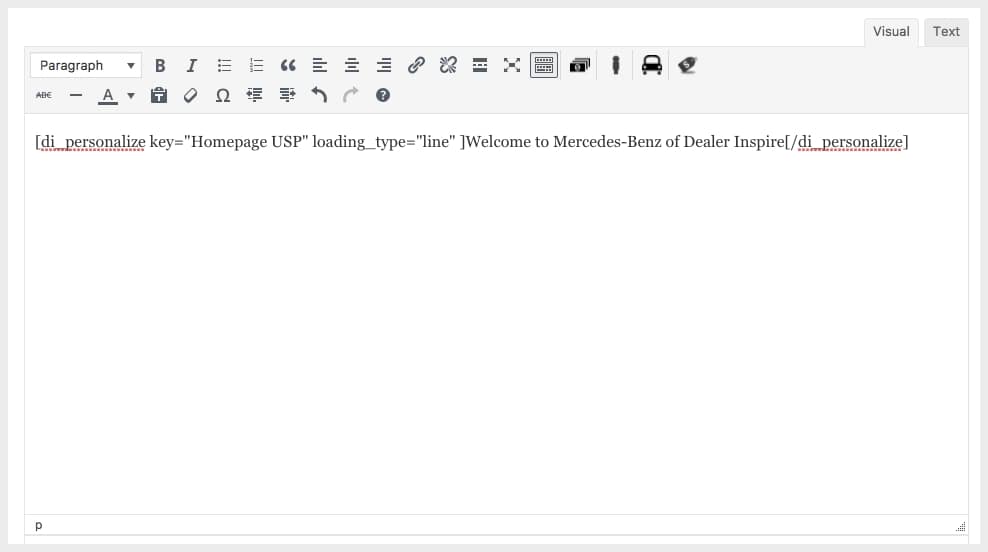
You will now see the shortcode surrounding your default message, as in the example above. This code is what enables your Personalizers to fire.
Publish your slide.
5. Set Up Your Personalizer
To create a new Personalizer, select “Personalizer” in the left side menu, then click “Add New.”
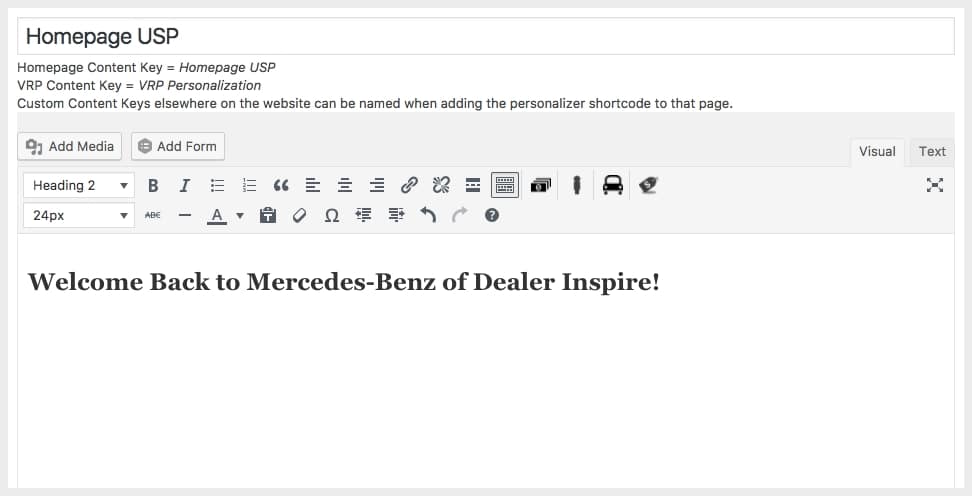
In the top bar, type “Homepage USP”.
NOTE: In order for your Personalizer to work properly, you must name it exactly “Homepage USP”. Any variations (including different capitalization) will cause it not to work.
After you have named your Personalizer, type your personalized content in the WYSIWYG content box under the “Visual” tab. Use the “Text” tab for HTML. When formatting your text, note that the “Heading 2” font size tends to look best.
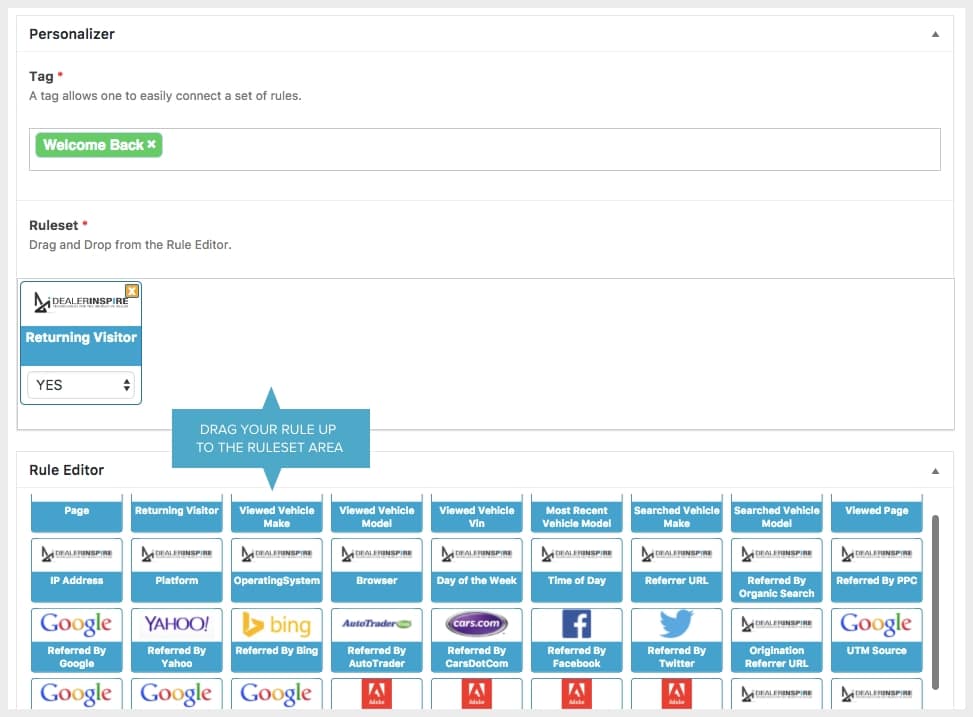
Next, name/identify your Personalizer using the “Tag” area. The tag is should be unique for each Personalizer.
Once you have added your tag, drag your rule up to the “Ruleset” area from the “Rule Editor.”In this example we are using the “Returning Visitor” ruleset. This will cause our message to display when someone returns to the site.
When finished, publish your Personalizer. To see your message fire, go open a new incognito window and take the actions you defined in your “Ruleset.”