The Personalizer tool allows you to customize a specific section of the website to display a message for a specific group of visitors based on their actions, source or location. For example, you can display a lease offer on your homepage that is targeted to the visitor who is interested in that specific vehicle model and the message can drive the visitor right to that particular vehicle results page. This tool gives you the opportunity to create a more unique and personalized experience for your customers and serve up messages that truly impact them! You can also geofence your Personalizers to target a specific geographical area such as a town, corporation, hospital, university, military base or competitor’s lot!
Geofence Personalizers allow you to display a unique message to potential customers who are visiting your site from a specific location.
1. Add New Personalizer
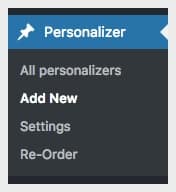
To start creating a Homepage Geofenced Personalizer, click on “Personalizer,” then “Add New.”
2. Begin Building Your Personalizer
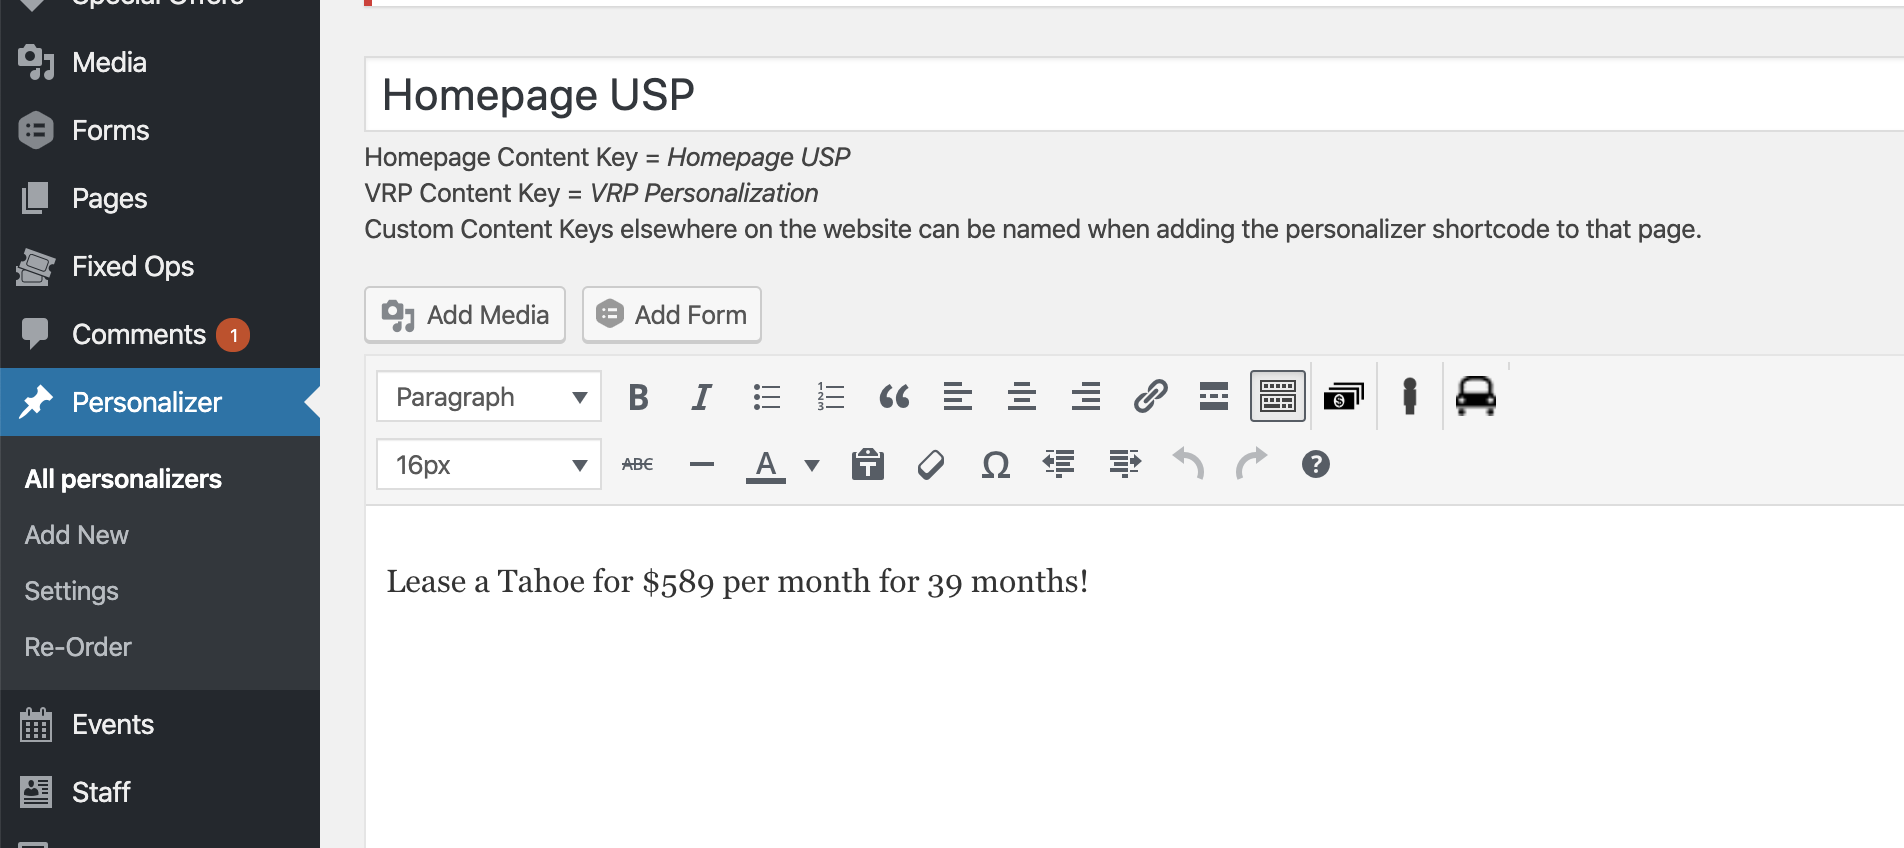
1. In the Content Key area (top bar), type “Homepage USP” for a message displayed on the Homepage.
NOTE: In order for your Personalizer to work on the Homepage, you have to name it exactly Homepage USP or it will not fire. Best practice is to copy and paste from the note below the Content Key area.
2. After you have entered the content key, type your personalized message in the WYSIWYG content formatting box under the “Visual” tab. Use the “Text” tab for HTML.
3. ADD YOUR TAG
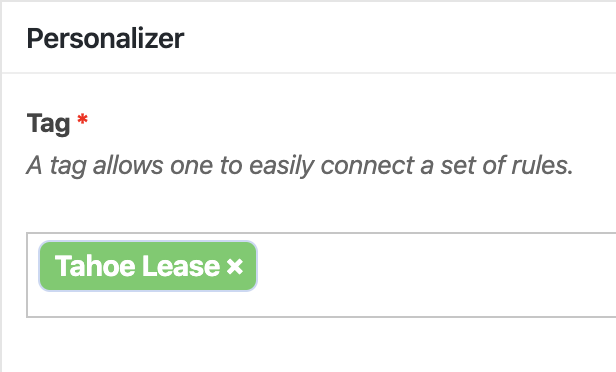
Next, name your Personalizer by typing your desired title in the “Tag” area. The tag allows you to identify the Personalizer, and will also help you find the Personalizer in your Google Analytics data.
4. Draw Your Geofence
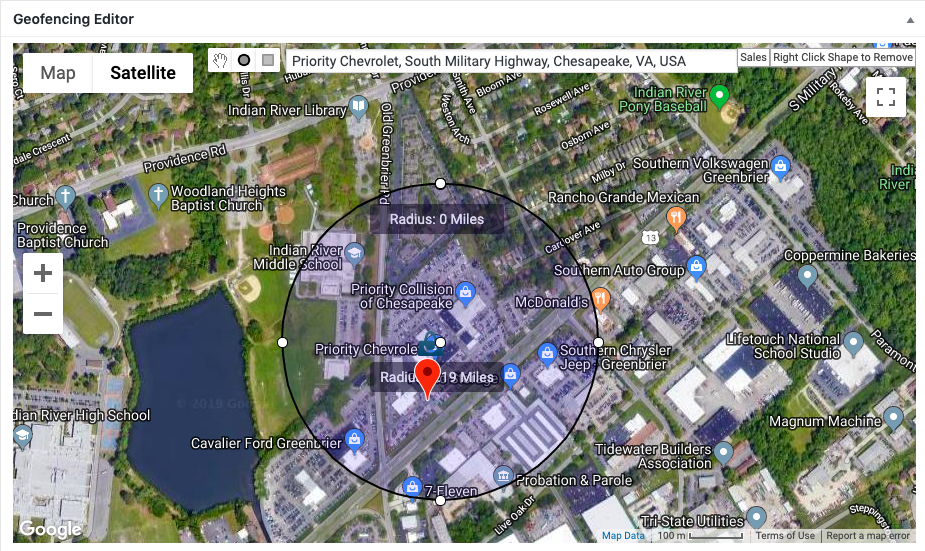
1. Type in the name or address of the business or area you would like to target. The pin will drop in the center of what you searched.
2. You have the option to click “Satellite” to draw your Geofence in satellite view. This can be helpful so that you can better see the geographical area that you want to place your Personalizer.
3. Select the Circle or Square Geofence tool, then click and drag to highlight your desired area.
NOTE: The geofence editor will pin your approximate dealership location based on the address that is your Dealer Inspire Settings. This pin point is based on where Google Maps sees your dealership. If it appears incorrectly, a change will need to be submitted by the dealership to Google through your Google My Business profile. Please also note, if you are a group site, there will not be a pin point since the site is for more than one dealer.
NOTE: Geofenced Personalizers are accurate up to 500 feet, so you may want to geofence an area slightly larger than your target to account for this.
5. Publish Your Personalizer
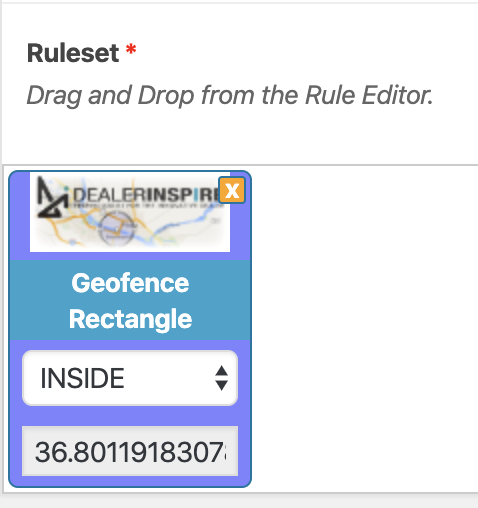
Drawing a Geofence in the map editor will automatically create the necessary Ruleset for you. Once you have finished creating your Personalizer, click on the blue “Publish” button to make your Personalizer active.
NOTE: Geofencing may take up to 2-3 minutes to process the user’s location.
If you have any questions on how to test a Geofenced Personalizer, please refer to the the Testing Geofence Personalizers document.