The Personalizer tool allows you to customize a specific section of the website to display a message for a specific group of visitors based on their actions, source or location. For example, you can display a lease offer on your homepage that is targeted to the visitor who is interested in that specific vehicle model and the message can drive the visitor right to that particular vehicle results page. This tool gives you the opportunity to create a more unique and personalized experience for your customers and serve up messages that truly impact them! You can also geofence your Personalizers to target a specific geographical area such as a town, corporation, hospital, university, military base or competitor’s lot!
1. CREATE YOUR PERSONALIZER
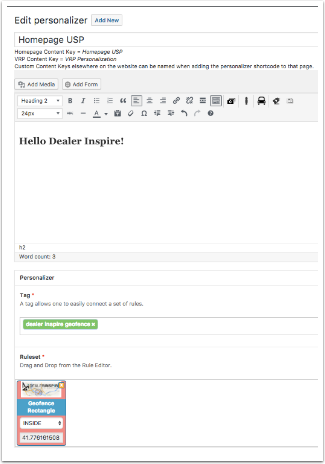
For a full step-by-step walkthrough on how to create a geofence Personalizer, please view, Adding Homepage Geofences.
When testing Personalizers, you need to geofence your current location and create a unique testing ‘Tag’. See below for these specific instructions.
GEOFENCE TESTING
To test a geofence, be sure to geofence your current location using the map section of the Personalizer. You will only be able to test actual geofences if you or someone you know happens to be inside the geofenced location.
NOTE: Geofencing may take up to 2-3 minutes to process the user’s location.
Be sure to draw your geofence larger than your desired location.
EXAMPLE 1 (BEST PRACTICE)
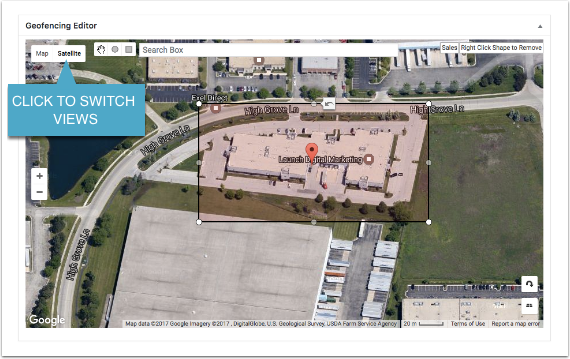
We recommend using the Satellite view to successfully draw your geofence slightly larger than the desired area. This helps ensure the message will fire while the customer is in that current location.
CREATE A TEST TAG
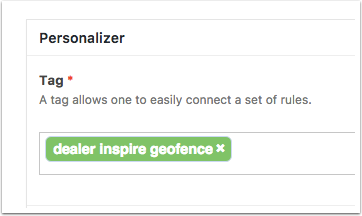
When creating a test Geofence personalizer, be sure to create a tag that is a description of your geofence. For example, if you are testing a geofence, a good tag would be ‘test geofence’, or the area you testing such as ‘Dealer Inspire geofence’.
After you have finished testing the geofence, be sure to rename the ‘Tag’ for your actual targeted audience. These tags help define the goal in Google Analytics and allows the system to identify the rules in the Personalizer Ruleset.
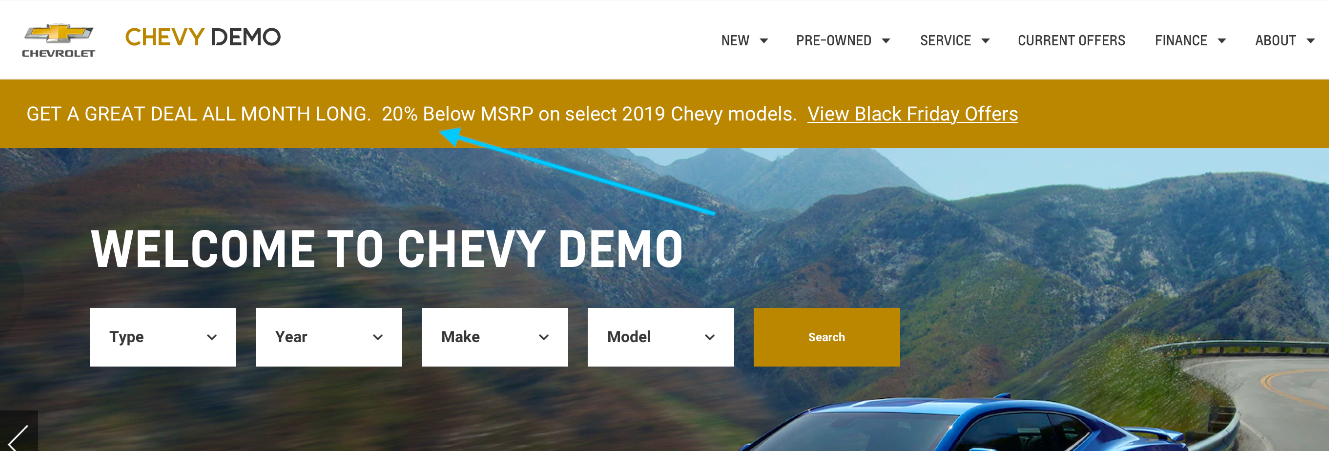
2. TEST THE PERSONALIZER
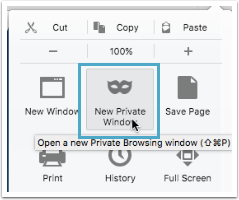
To properly test your Personalizers, it is best practice to use an incognito window.
3. SHARE LOCATION
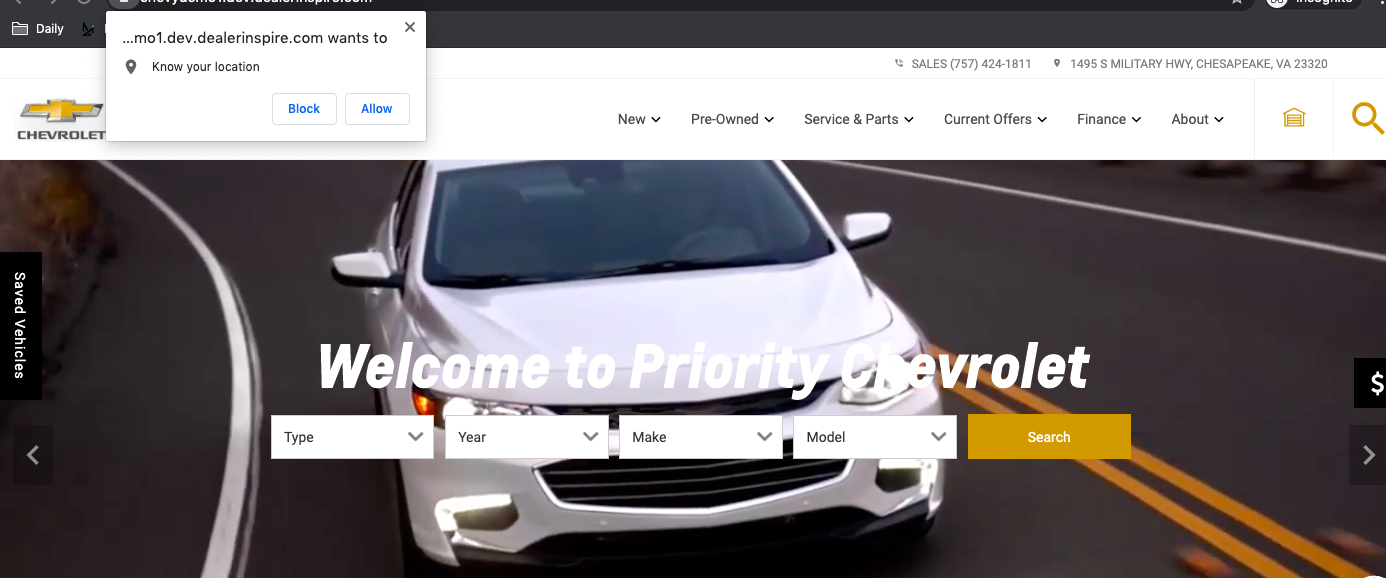
4. VERIFY
A user’s geolocation can take anywhere from a few seconds up to a minute to update. If you do not see your geofenced message, try these helpful tips:
- Go to another page on the site, and then navigate back to the homepage. You can also try refreshing the page.
- Reload the Cache by clicking on the green “Reload Cache” button while logged into WordPress.
- Double check that you have labeled the “Content Key’ as Homepage USP.

5. CHANGE YOUR GEOFENCE AND TAG BACK TO YOUR TARGETED AUDIENCE.
After you have finished testing the geofence in your current location, be sure to change the location back to your desired targeted audience.
Be sure to also rename the Tag for your new targeted audience.
MOBILE DEVICES AND GEOFENCING
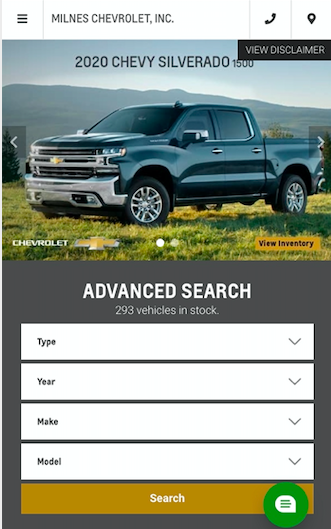
When testing and viewing the geofenced message, be sure to view the Personalizer on a mobile device. Shrinking down your browser will not show exactly how it will look to customers on their phone.